购买VPS之后,为了便于日常访问,服务器的22端口通常是针对公网开放的。如果你只设置了密码登录,那你的VPS就处于被爆破的风险之中。使用密钥登录虽然能提升安全性,但是密钥保存在某一台设备中,我们更换设备会比较麻烦。因此本文就介绍了一种使用TOTP进行2FA的登录验证方式,即保证了安全性,也不丢失便捷性。
这种方式登录流程为:
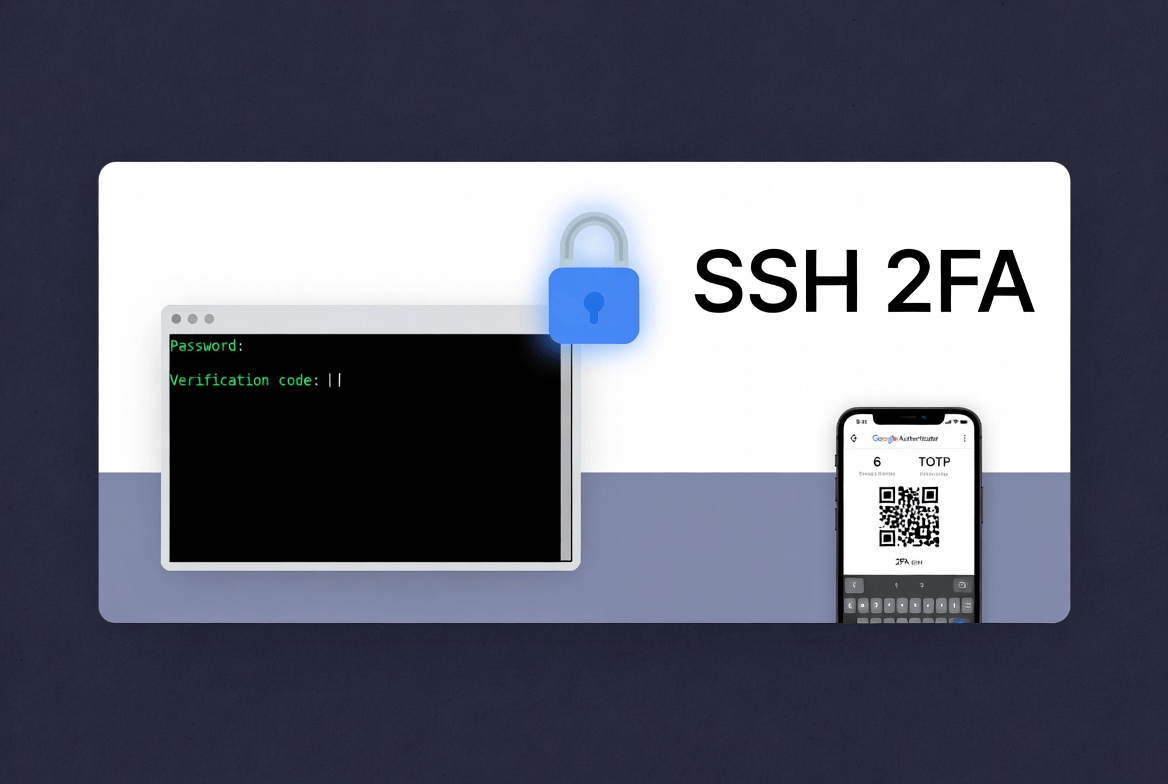
先输入系统账号密码 → 再输入手机 Google Authenticator 显示的 6 位验证码 → 登录成功。
准备工作:
- 一台VPS服务器
- 在手机上安装Google Authenticator软件
配置过程中不要关闭当前的 SSH 窗口,以防配置错误把自己锁在外面。建议先在测试服务器上验证。
Authenticator PAM 模块安装
Ubuntu / Debian:
1 | sudo apt update |
CentOS / RHEL / Rocky / AlmaLinux / Fedora:
1 | sudo dnf install epel-release -y |
为用户生成 TOTP 密钥
必须以要登录的用户身份执行
切换到需要启用 2FA 的普通用户(强烈建议不要对 root 用户做此操作):
1 | su - yourusername |
按以下流程进行:
- Do you want authentication tokens to be time-based (y/n) → 输入: y
- 屏幕上会出现一个二维码,用手机 Google Authenticator App 扫描添加账户
- 输入Google Authenticator中的验证码
- 会生成5 个紧急恢复码(scratch codes) —— 立即复制保存到安全地方(手机丢失时使用),也会保存在用户家目录:
~/.google_authenticator
后续问答推荐按下面进行
- Update the .google_authenticator file? → y
- Disallow multiple uses of the same authentication token? → y
- Increase the time skew window? → n(或根据需要)
- Do you want to enable rate-limiting? → y
配置 PAM 模块
编辑 SSH 的 PAM 配置文件:
1 | sudo vim /etc/pam.d/sshd |
在文件最顶部添加以下一行(推荐放在最前面):
1 | auth required pam_unix.so nullok try_first_pass |
nullok表示:如果用户还没有生成.google_authenticator文件,则只用密码也能登录(初期设置时非常有用)。全部用户配置完成后,建议删除nullok以强制要求 2FA。- 注意以上两行的顺序,和登录时输入密码和TOTP的顺序有关
保存退出。
配置 SSH 服务(sshd_config)
编辑配置文件(推荐新建独立配置文件,避免覆盖系统默认):
1 | sudo vim /etc/ssh/sshd_config.d/2fa.conf |
(如果你的系统没有 sshd_config.d/ 目录,可直接编辑 /etc/ssh/sshd_config)
添加以下内容:
1 | # 启用键盘交互认证(用于输入密码和 TOTP) |
说明:
KbdInteractiveAuthentication yes(新版 OpenSSH 推荐,旧版可使用ChallengeResponseAuthentication yes)AuthenticationMethods keyboard-interactive是关键,确保整个认证过程走 PAM,从而依次提示密码 + TOTP。
测试配置语法是否正确:
1 | sudo sshd -t |
重启 SSH 服务
1 | sudo systemctl restart sshd |
测试登录
从另一台电脑/终端测试:
1 | ssh yourusername@your-server-ip |
预期登录流程:
- 输入 系统登录密码
- 提示
Verification code:(或类似),输入手机 App 当前显示的 6 位 TOTP 验证码 - 登录成功
常见问题处理
时间不同步:服务器时间必须与手机同步。建议安装 chrony 或 ntp:
1
2
3
4sudo apt install chrony -y # Ubuntu
# 或
sudo dnf install chrony -y # RHEL系
sudo systemctl enable --now chronyd登录失败(Permission denied):检查
sshd -t是否报错,查看/var/log/auth.log或/var/log/secure日志。想临时允许未设置 2FA 的用户:保留
nullok。强制所有用户必须用 2FA:把 PAM 行改为
auth required pam_google_authenticator.so(去掉 nullok)。同时支持公钥 + 密码 + 2FA(更灵活,但安全性稍低):把
AuthenticationMethods改成:1
AuthenticationMethods publickey,password publickey,keyboard-interactive keyboard-interactive
并把
PasswordAuthentication yes。
配置完成后,建议:
- 保存好紧急恢复码
- 测试多次成功后,再从其他地方尝试登录
- 定期备份
~/.google_authenticator文件