如果你有一个NAS,或者有一个家庭服务器,你一定想过如果能够随时随地访问到家里的网络。也许你有一个云服务器,不希望暴露ssh端口到公网。
tailscale/headscale就能实现我们这个需求,接入的设备可以像内网一样,轻松实现互相访问。其中tailscale需要依赖tailscale官方提供的元数据服务,负责协调和管理网络。而headscale则是其开源实现,我们使用headscale来实现完全自主的私有内容。
本文就介绍了使用headscale搭建一个完全自主的私有内网,并使用Caddy作为反向代理,实现域名解析和端口转发。
部署架构
目录结构
1
2
3
4
5
6
7
8
9
10
11
12
13
14
15
16
| /opt/
├── caddy/
│ ├── docker-compose.yml
│ ├── Caddyfile
│ ├── data/ # 证书等持久数据(自动生成)
│ └── config/ # Caddy 运行时配置(自动生成)
│
└── headscale/
├── docker-compose.yml
├── headscale/
│ ├── config/
│ │ └── config.yaml
│ └── data/ # db、私钥等持久数据
└── headplane/
└── config/
└── config.yaml
|
网络架构
1
2
3
4
5
6
7
8
9
10
11
12
13
14
15
16
17
18
19
20
21
| Internet
│
┌────────────┼────────────┐
TCP 80/443 UDP 3478 UDP 41641
│ │ │
▼ │ │
Caddy │ │
│ │ │
┌───────┴───────┐ │ │
│ │ │ │
hs.example.com hp.example.com │
│ │ │
▼ ▼ │
headscale:8080 headplane:3000 │
│ │
└──────── headscale:3478 ◄─────────┘
headscale:41641◄─────────┘
Docker 网络:
caddy-net : caddy ↔ headscale ↔ headplane
headscale-net : headscale ↔ headplane 内部通信
|
域名
| 域名 |
用途 |
hs.example.com |
Headscale 主服务 + 内置 DERP |
hp.example.com |
Headplane 管理面板 |
服务器防火墙端口
| 端口 |
协议 |
用途 |
对外开放 |
| 80 |
TCP |
HTTP / ACME 证书验证 |
✅ |
| 443 |
TCP |
HTTPS 入口 |
✅ |
| 443 |
UDP |
HTTP/3 |
✅ |
| 3478 |
UDP |
DERP STUN |
✅ |
| 41641 |
UDP |
DERP 直连备用 |
✅ |
初始化
初始化目录
1
2
3
| mkdir -p /opt/caddy/{data,config}
mkdir -p /opt/headscale/headscale/{config,data}
mkdir -p /opt/headscale/headplane/config
|
初始化网络
1
| docker network create caddy-net
|
配置文件
headscale配置文件
路径: /opt/headscale/docker-compose.yml
1
2
3
4
5
6
7
8
9
10
11
12
13
14
15
16
17
18
19
20
21
22
23
24
25
26
27
28
29
30
31
32
33
34
35
36
37
38
39
40
41
42
43
44
45
46
47
48
49
50
51
52
53
54
| networks:
headscale-net:
name: headscale-net
driver: bridge
caddy-net:
external: true
services:
headscale:
image: ghcr.io/juanfont/headscale:latest
container_name: headscale
restart: unless-stopped
command: serve
volumes:
- ./headscale/config:/etc/headscale:ro
- ./headscale/data:/var/lib/headscale
ports:
- "3478:3478/udp"
- "41641:41641/udp"
cap_add:
- NET_ADMIN
- SYS_MODULE
sysctls:
- net.ipv4.ip_forward=1
- net.ipv6.conf.all.forwarding=1
networks:
- headscale-net
- caddy-net
healthcheck:
test: ["CMD", "headscale", "health"]
interval: 30s
timeout: 10s
retries: 3
start_period: 10s
headplane:
image: ghcr.io/tale/headplane:latest
container_name: headplane
restart: unless-stopped
depends_on:
headscale:
condition: service_healthy
volumes:
- ./headplane/config:/etc/headplane:ro
- ./headscale/config/config.yaml:/etc/headscale/config.yaml:ro
- /var/run/docker.sock:/var/run/docker.sock:ro
environment:
- HEADSCALE_URL=http://headscale:8080
- HEADSCALE_INTEGRATION=docker
- HEADSCALE_CONTAINER=headscale
networks:
- headscale-net
- caddy-net
|
路径: /opt/headscale/headscale/config/config.yaml
1
2
3
4
5
6
7
8
9
10
11
12
13
14
15
16
17
18
19
20
21
22
23
24
25
26
27
28
29
30
31
32
33
34
35
36
37
38
39
40
41
42
43
44
45
46
47
48
49
50
51
52
53
54
55
| server_url: https://hs.example.com
listen_addr: 0.0.0.0:8080
metrics_listen_addr: 0.0.0.0:9090
grpc_listen_addr: 0.0.0.0:50443
grpc_allow_insecure: true
tls_cert_path: ""
tls_key_path: ""
noise:
private_key_path: /var/lib/headscale/noise_private_key
prefixes:
v4: 100.64.0.0/10
v6: fd7a:115c:a1e0::/48
allocation: sequential
derp:
server:
enabled: true
region_id: 999
region_code: "custom"
region_name: "Custom DERP"
stun_listen_addr: "0.0.0.0:3478"
private_key_path: /var/lib/headscale/derp_server_private_key
urls: []
paths: []
auto_update_enabled: false
update_frequency: 24h
database:
type: sqlite
sqlite:
path: /var/lib/headscale/db.sqlite
dns:
magic_dns: true
base_domain: ts.example.com
nameservers:
global:
- 1.1.1.1
- 8.8.8.8
policy:
mode: database
log:
level: info
format: text
disable_check_updates: true
ephemeral_node_inactivity_timeout: 30m
node_update_check_interval: 10s
|
路径: /opt/headscale/headplane/config/config.yaml
1
2
3
4
5
6
7
8
9
10
11
| server:
host: 0.0.0.0
port: 3000
cookie_secret: "your-random-secret-string-at-least-32-chars!!"
headscale:
url: https://hs.example.com
grpc_url: http://headscale:50443
config_strict: false
|
Caddy配置
路径: /opt/caddy/docker-compose.yml
1
2
3
4
5
6
7
8
9
10
11
12
13
14
15
16
17
18
19
| networks:
caddy-net:
external: true
services:
caddy:
image: caddy:latest
container_name: caddy
restart: unless-stopped
ports:
- "80:80"
- "443:443"
- "443:443/udp"
volumes:
- ./Caddyfile:/etc/caddy/Caddyfile:ro
- ./data:/data
- ./config:/config
networks:
- caddy-net
|
路径: /opt/caddy/Caddyfile
1
2
3
4
5
6
7
8
9
10
11
12
13
14
15
16
17
18
19
20
21
22
23
24
25
26
27
28
29
30
31
32
33
34
35
36
37
38
39
40
41
42
| {
email mail@example.com
log {
level INFO
}
}
hs.example.com {
log {
output file /data/logs/headscale.log {
roll_size 50mb
roll_keep 5
}
}
reverse_proxy headscale:8080 {
header_up Host {host}
header_up X-Real-IP {remote_host}
header_up X-Forwarded-For {remote_host}
header_up X-Forwarded-Proto {scheme}
transport http {
keepalive 30s
keepalive_idle_conns 10
}
}
}
hp.example.com {
log {
output file /data/logs/headplane.log {
roll_size 20mb
roll_keep 5
}
}
reverse_proxy headplane:3000 {
header_up Host {host}
header_up X-Real-IP {remote_host}
header_up X-Forwarded-For {remote_host}
header_up X-Forwarded-Proto {scheme}
}
}
|
部署步骤
Step 1:配置域名解析
1
2
| hs.example.com → A → <服务器公网IP>
hp.example.com → A → <服务器公网IP>
|
Step 2:开放防火墙端口
如果你的服务器部署在云上,则需要到对应的功能页面开启,无需执行下列命令
1
2
3
4
5
6
7
8
9
10
11
12
13
14
15
|
ufw allow 80/tcp
ufw allow 443/tcp
ufw allow 443/udp
ufw allow 3478/udp
ufw allow 41641/udp
ufw reload
firewall-cmd --permanent --add-port=80/tcp
firewall-cmd --permanent --add-port=443/tcp
firewall-cmd --permanent --add-port=443/udp
firewall-cmd --permanent --add-port=3478/udp
firewall-cmd --permanent --add-port=41641/udp
firewall-cmd --reload
|
Step 3:启动 Headscale 服务
1
2
3
4
5
6
7
| cd /opt/headscale
docker compose up -d
docker compose logs -f headscale
docker compose logs -f headplane
|
Step 4:启动 Caddy
1
2
3
4
5
6
7
8
9
|
mkdir -p /opt/caddy/data/logs
cd /opt/caddy
docker compose up -d
docker compose ps
docker network ls | grep caddy-net
|
也可通过页面进行验证,访问: https://hs.example.com/health
Step 5:生成 API Key 并配置 Headplane
1
2
|
docker exec headscale headscale apikeys create --expiration 9999d
|
得到一个apiKey
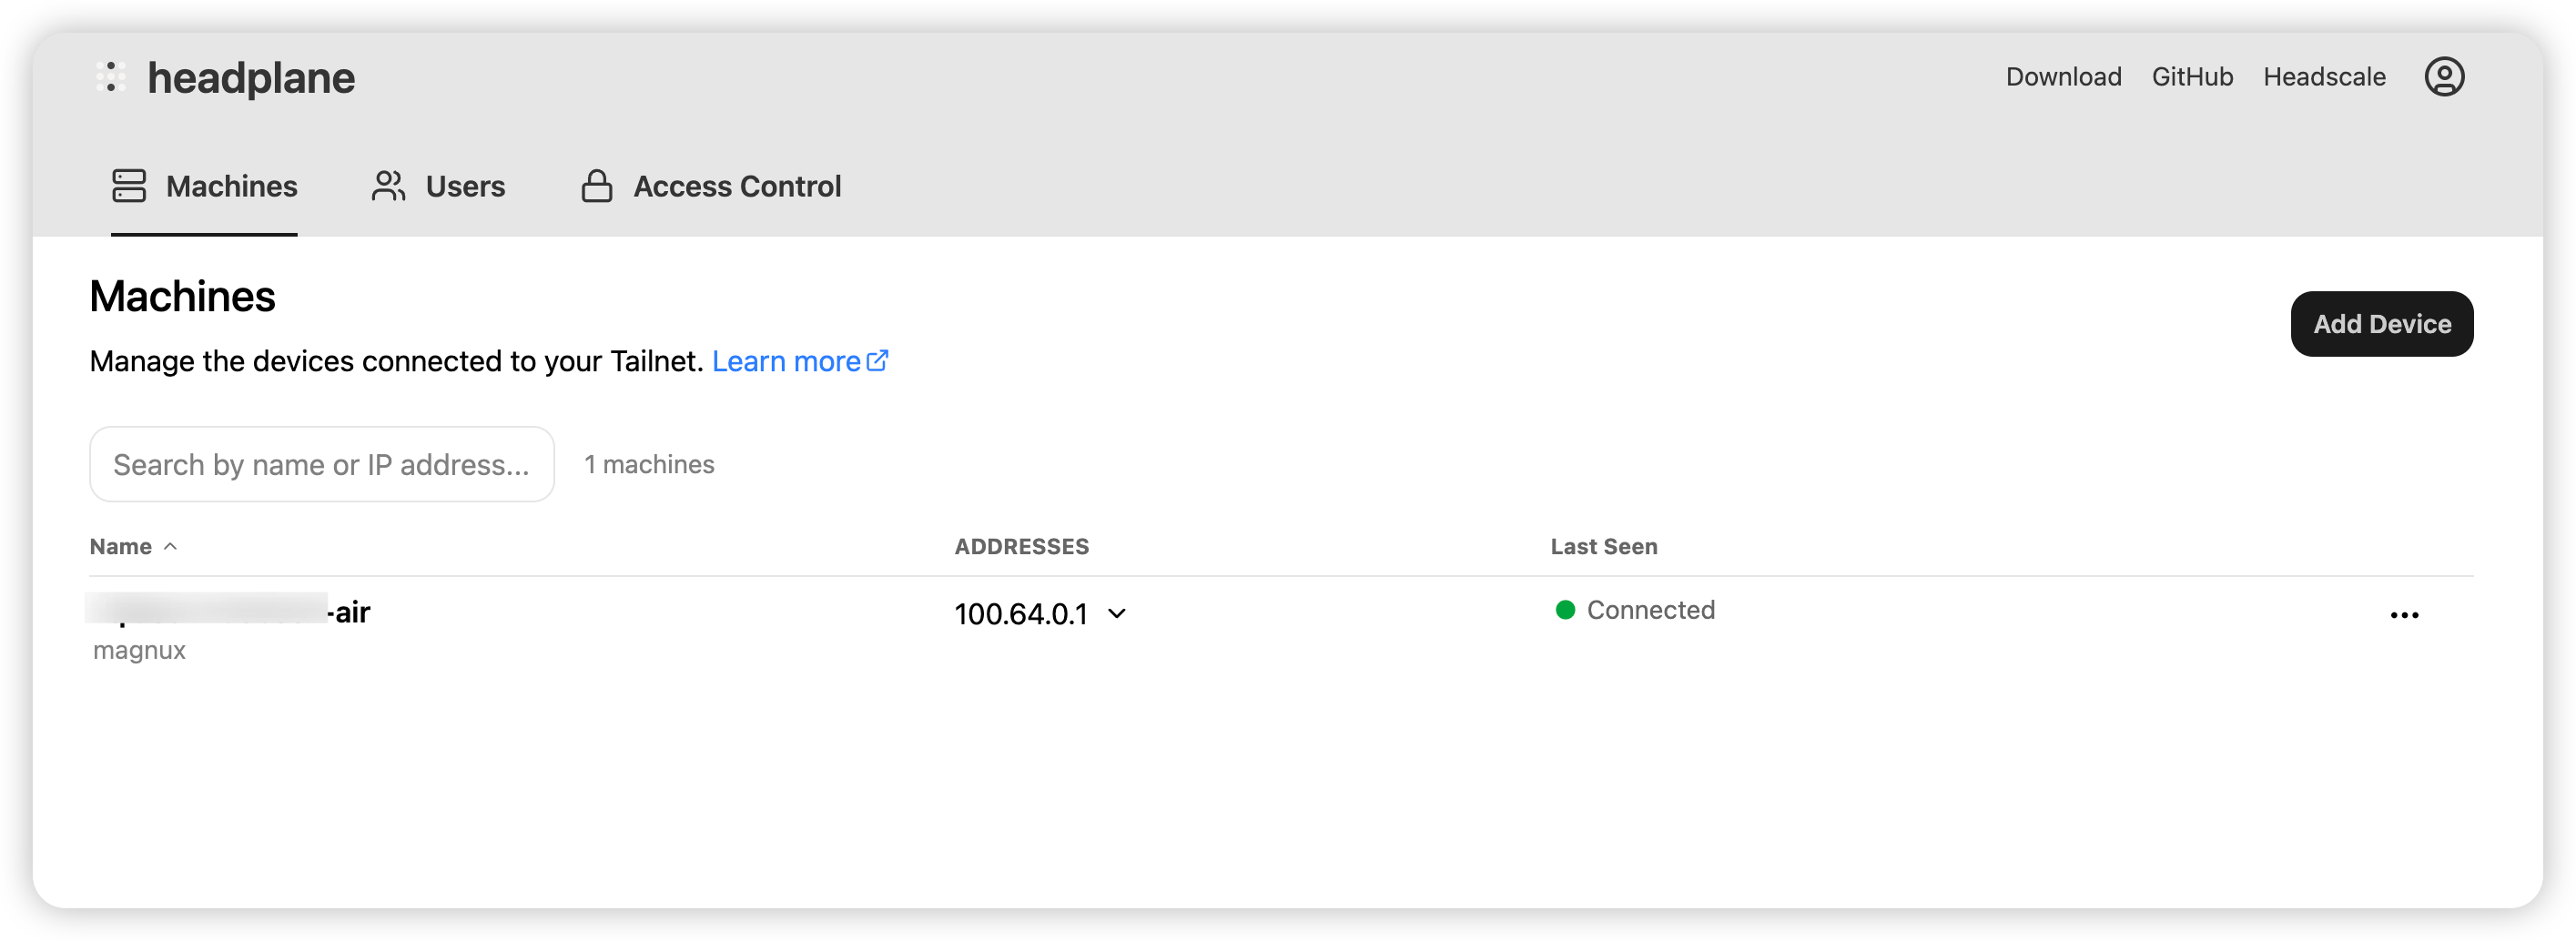
访问https://hp.example.com/admin, 可以看到下面的页面

输入刚刚生成的apiKey,就可以进入页面
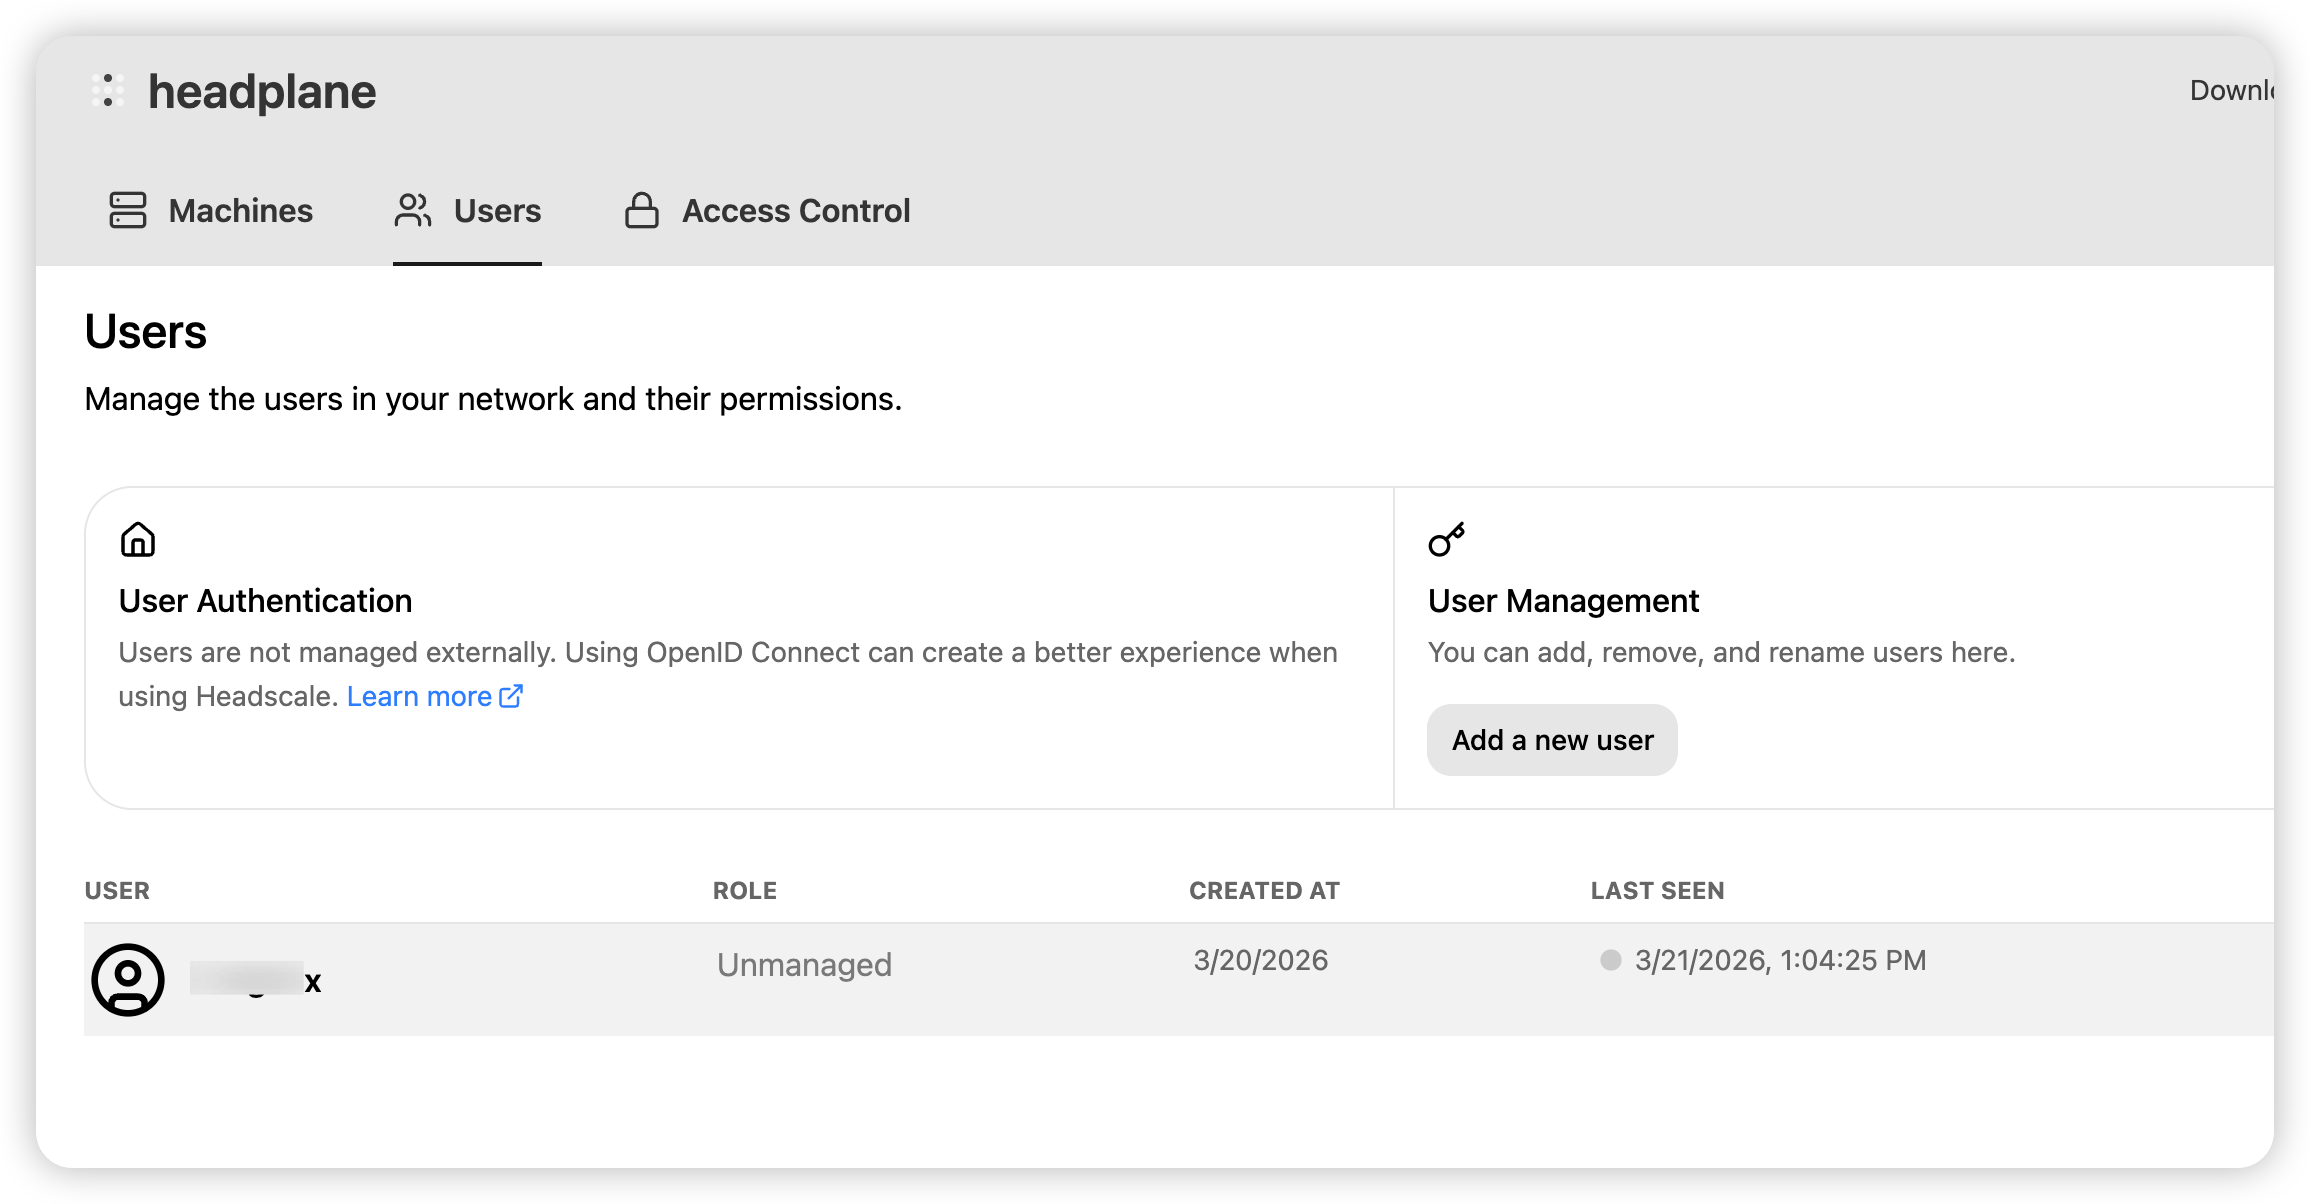
Step 6:创建用户
1
| docker exec headscale headscale users create myuser
|
这一步也可以在headplane页面的页面上创建
客户端接入
客户端安装
MacOs:
1
2
| brew install tailscale
sudo tailscaled
|
Linux:
1
| curl -fsSL https://tailscale.com/install.sh | sh
|
节点接入
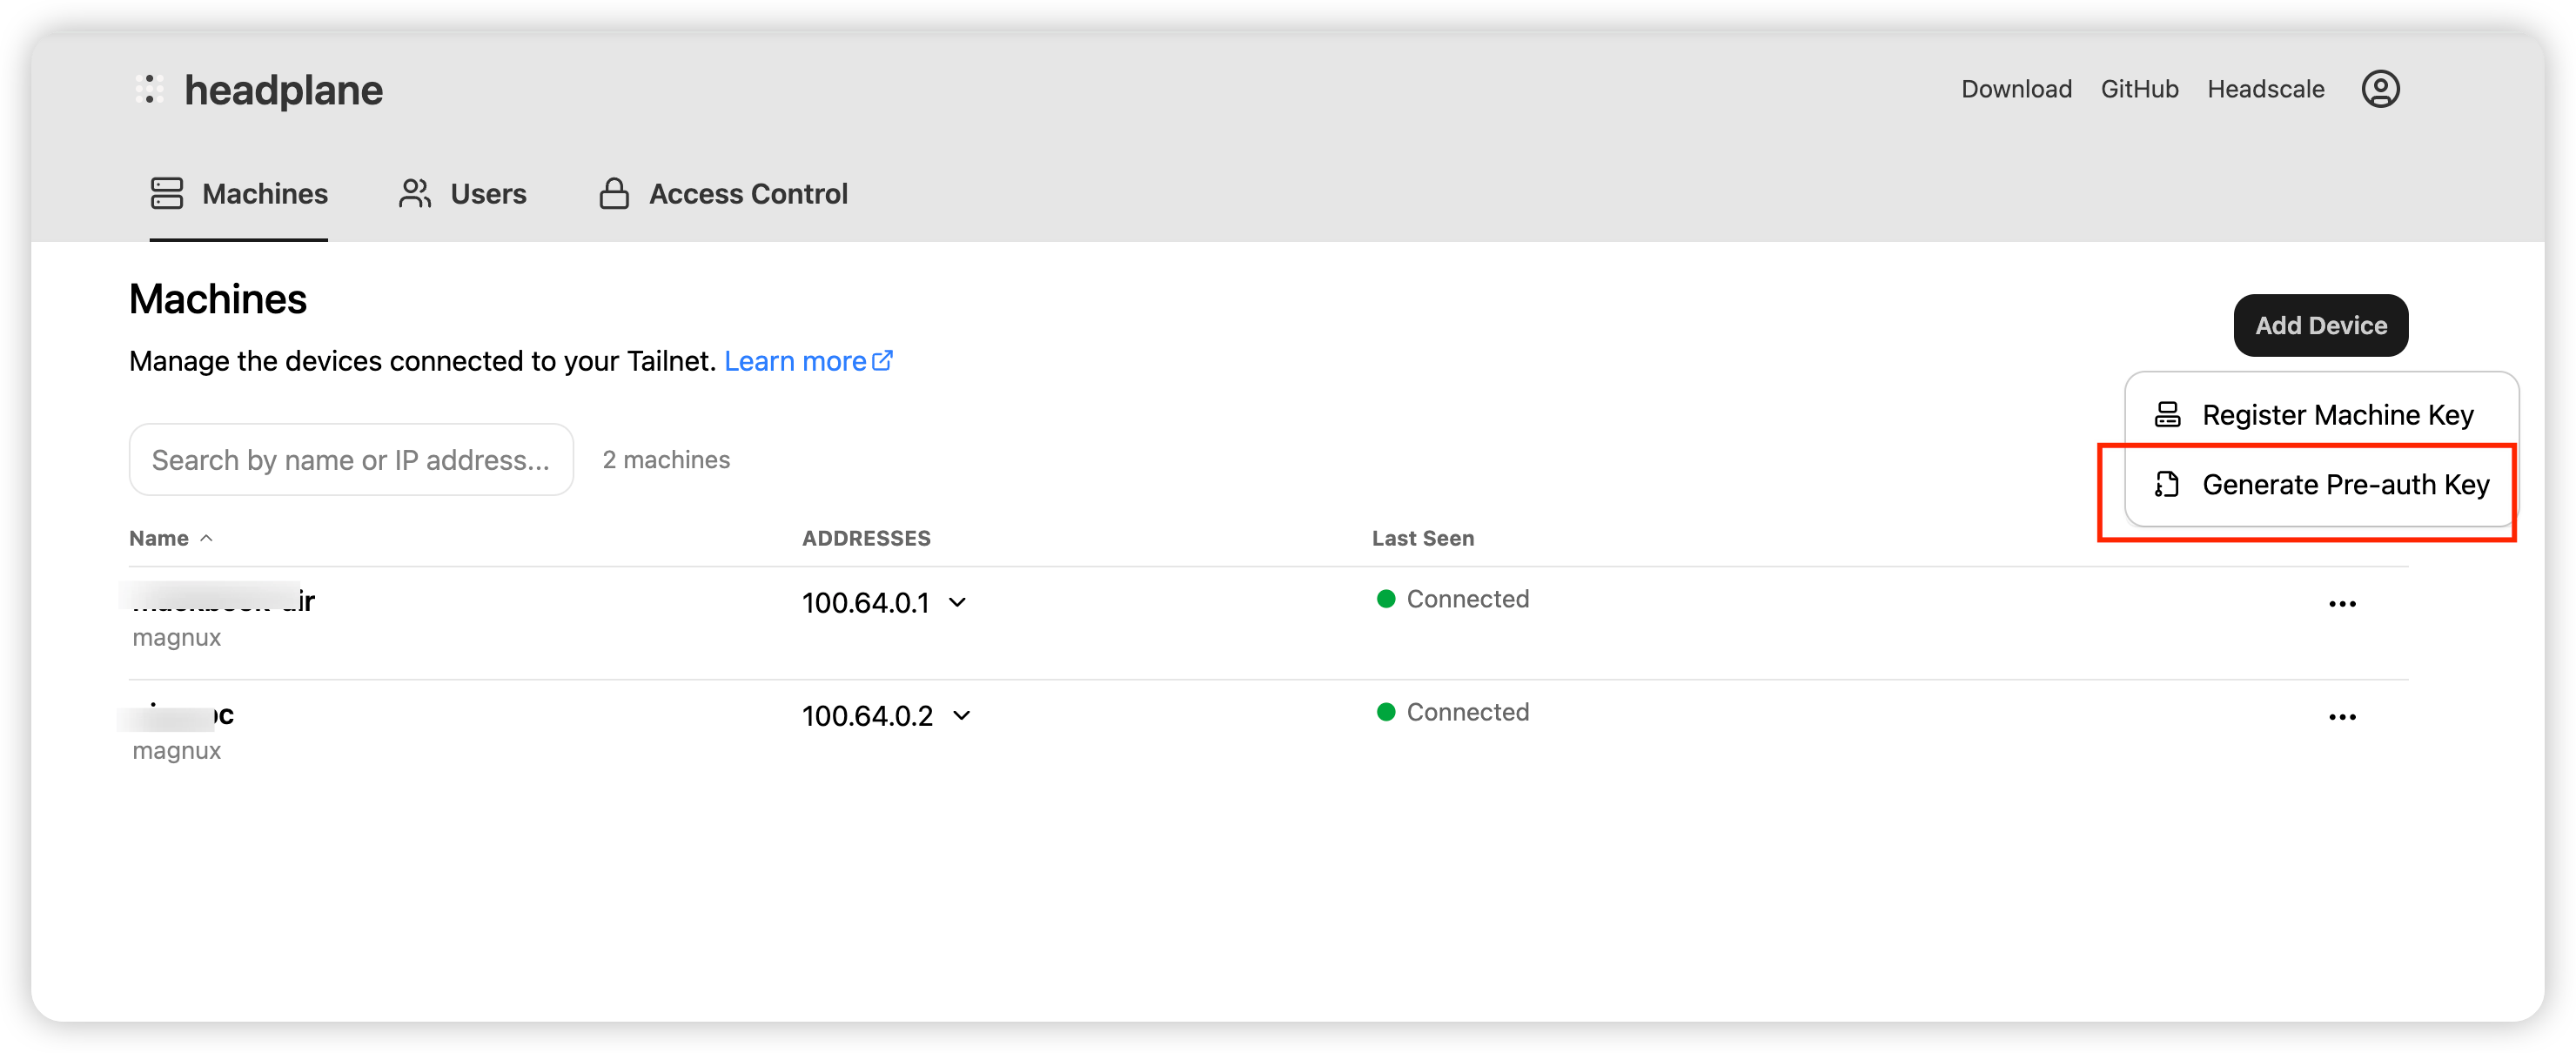
接入方式一:预授权方式接入
- 服务端生成预授权key
1
2
3
4
| docker exec headscale headscale preauthkeys create \
--user myuser_id \
--reusable \
--expiration 90d
|
注意这里的myuser_id, 是之前创建的用户的id, 可以通过命令docker exec headscale headscale nodes list查看
也可以在页面生成
- 在客户端执行以下命令
1
2
3
| sudo tailscale up \
--login-server=https://hs.example.com \
--authkey=<预授权key>
|
方式二:交互式登录
1
2
| sudo tailscale up --login-server=https://hs.example.com
|
日常运维
1
2
3
4
5
6
7
8
9
10
11
12
13
14
15
16
17
|
docker exec headscale headscale nodes list
docker exec headscale headscale users list
docker exec headscale headscale routes list
cd /opt/caddy && docker compose pull && docker compose up -d
cd /opt/headscale && docker compose pull && docker compose up -d
docker compose logs -f headscale
docker compose logs -f headplane
docker logs caddy -f
|